You’re stuck in the woods, it’s getting dark in a few hours, and you’re cold and hungry. You really need to start chopping some wood to make a fire—but you discover that your ax isn’t working.
After inspecting your ax closely, you work out the problem: its head is loose. How do you fix it? In this step-by-step guide, you’ll get to know how to secure an ax head to the handle again. That way, you’ll know what to do next time you encounter this ax-related emergency in the wilderness!
How to Secure an Ax Head to the Handle
So your ax head is all loose and you can’t chop wood properly. You need to fix it imminently. What do you do? Firstly, do NOT try to use the ax at all while its head is loose—even if it’s only a little bit loose. Using a loose ax can loosen the head even more, potentially making it come off and causing you significant injury. Stop using the ax, secure it, and follow the next steps to fix it!
Step 1: Clean the Handle and Head
The first step to fixing your ax is clearing the handle and head of dirt and debris. Why? Any dirt and debris trapped between the handle and head can be the reason why your ax is loose and not working.
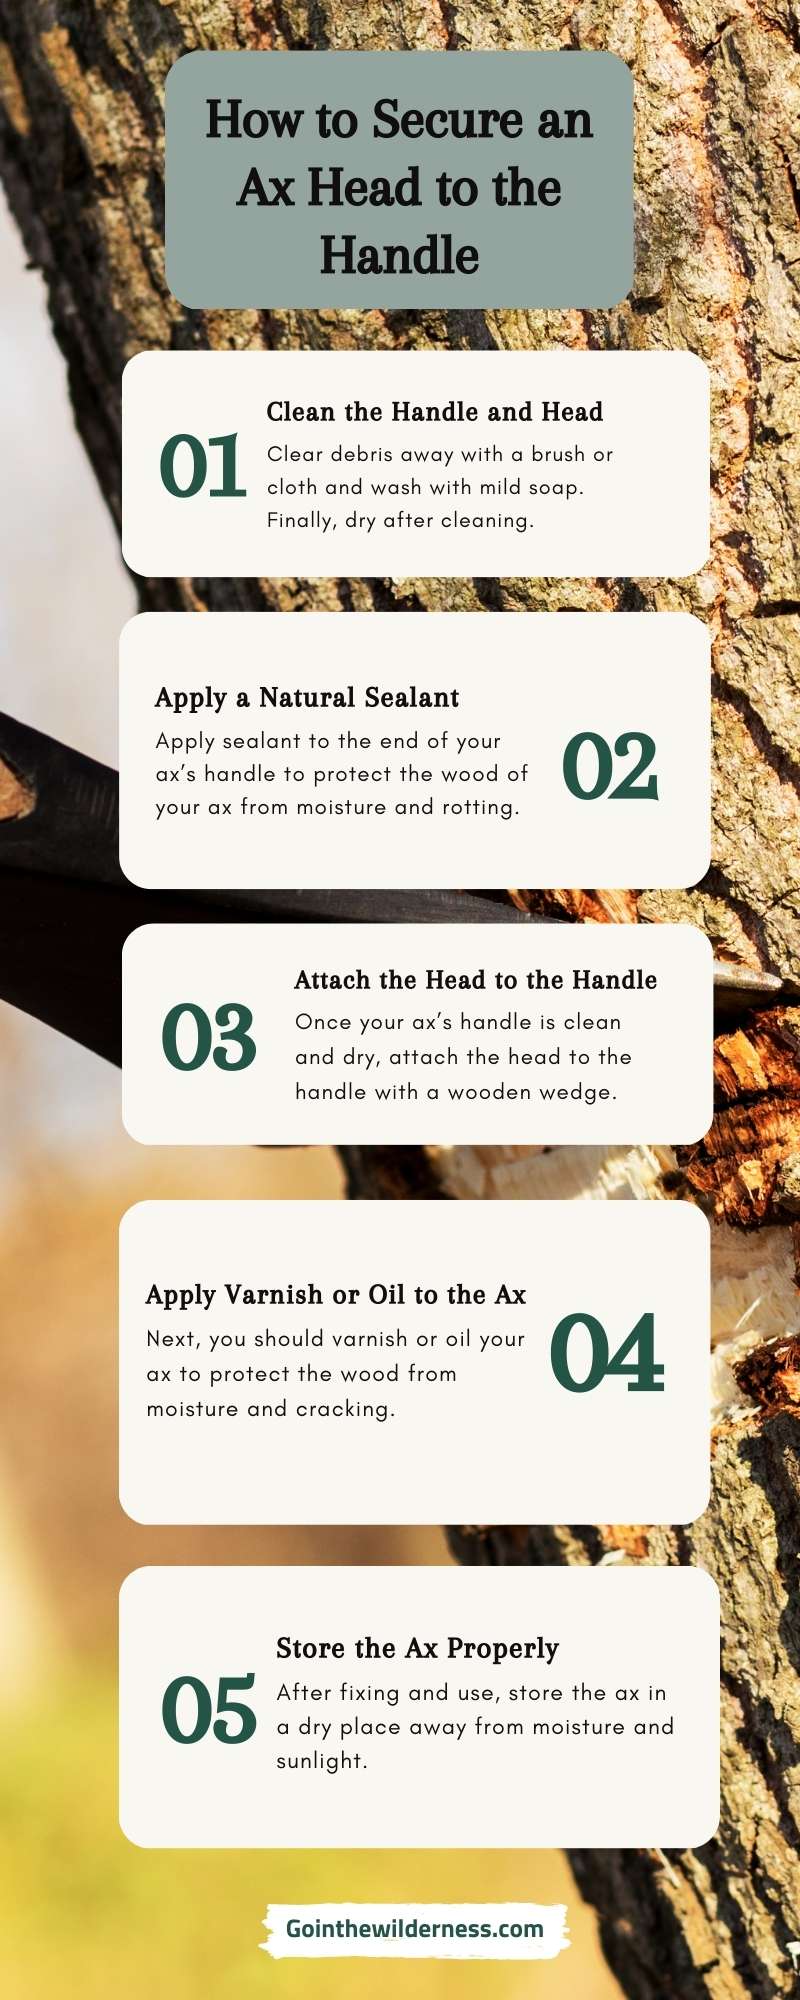
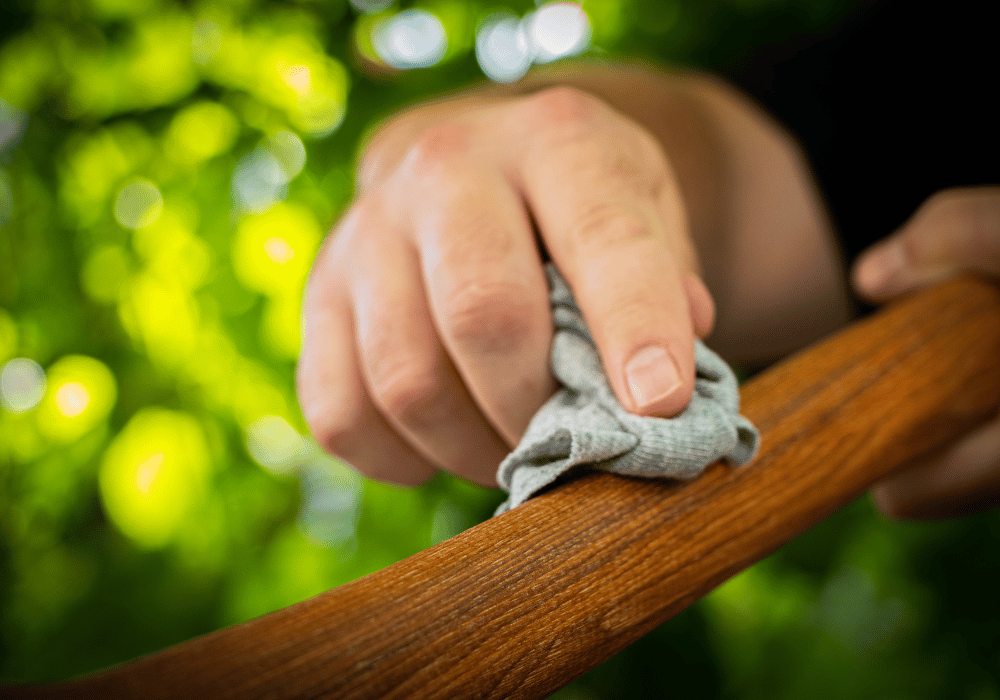
To clear debris away, first remove it with a brush or cloth. Next, just like cleaning a hunting knife, use a mild soap—like dish soap or hand soap—to clean your ax’s handle and head. (Avoid using harsh, abrasive cleaning products as these can damage the metal and wood.) Once you’re done, dry the handle and head with a dry rag to remove all the moisture.
Note: If your ax has rusted, it may require further cleaning and restoration—via rust remover, stropping, or sanding, for instance.
Step 2: Apply a Natural Sealant
The next step is to apply some sealant to the end of your ax’s handle. Ideally, you can use a natural sealant found in the wild—like beeswax, linseed oil, pine resin, or birch bark.
Apply your chosen sealant liberally to the end of your ax’s handle and let it dry. The sealant will protect the wood of your ax from moisture and rotting, as well as stopping the head from coming loose.
Step 3: Attach the Head to the Handle
Once your ax’s handle is clean and dry, attach the head to the handle. The most common way to do this is with a wooden wedge: place the ax head on the end of the handle and gently tap a wooden wedge into the gap between the head and the handle. The wedge will help secure the head in place.
Next, to make sure the wooden wedge stays in place, you can secure it with a metal wedge (if you have one with you). This can be done by tapping the metal wedge into the gap between the wooden wedge and the handle. The metal wedge will provide additional strength and help keep the head from coming loose.
Step 4: Apply Varnish or Oil to the Ax
Next, you should varnish or oil your ax. This will protect the wood from moisture and cracking, which are further factors why a head and handle might come loose. Take some varnish or oil—such as linseed oil, tung oil, or walnut oil—and apply a protective coating to the handle and head of your ax. Make sure to let it dry before using your ax!
Tip: Varnishing or oiling your ax is something you should do regularly—not just when fixing it. Varnish and oil will protect your ax against initial signs of wear or moisture damage (e.g. if your ax is becoming cracked or splitting). A good rule of thumb is to apply varnish or oil at least once a year—but you should do it more frequently if you use your ax very often or expose it to extreme weather.
Step 5: Store the Ax Properly
Once you’ve fixed your ax and managed to use it, you should then store it in a dry place away from moisture and sunlight. This will prevent the wood from cracking and the ax head coming loose as a result.
Conclusion
So, you now know how to fix your ax in an emergency—like a pro! It takes just a few simple steps involving cleaning, a sealant, a wooden wedge, and some varnish or oil.
To avoid getting into an emergency again in the future, make sure to keep checking your ax regularly to see what condition it’s in. Tap your ax head with a hammer, or wiggle the handle, to check if they have come loose. If they have, you can carry out some extra maintenance as outlined in this handy guide.
I am Bruno. Navigating the urban rush by day, I find peace under the stars by night. Alongside my loyal companion and co-adventurer Lilith, we explore the balance between city life and nature’s embrace. Through writing and films, I delve into bushcraft and the wild’s allure.
GointheWilderness is my bridge between these two realms, guiding you to reconnect with your innate wilderness.
Eden is here and now; join us in rediscovering it.