How to Start a Fire with Wet Wood: a step-by-step guide to starting a fire in wet conditions

di Redazione
02/12/2022

Whether you’re in a bush or you’re setting up camp, all camping lovers will agree: nothing beats a good fire. During dry weather, starting a fire is pretty straightforward. But it becomes a whole new ball game if wood gets wet due to rainfall, drizzle, or snow. You never know when this might happen; the weather can turn gloomy in an instant. So, it’s best to be prepared. Knowing how to light a fire with wet wood is a key tool in many survival situations—and it can be a fun experience, as well! This article will give you simple, professional tips on how to start a fire with wet wood.
Step 1: Collect Wood
Before you start a fire, you first need to collect wood. During wet weather, you need to collect small sticks and large logs. A good rule of thumb is to collect about 25% small twigs and 75% large logs. [caption id="attachment_138" align="aligncenter" width="1000"]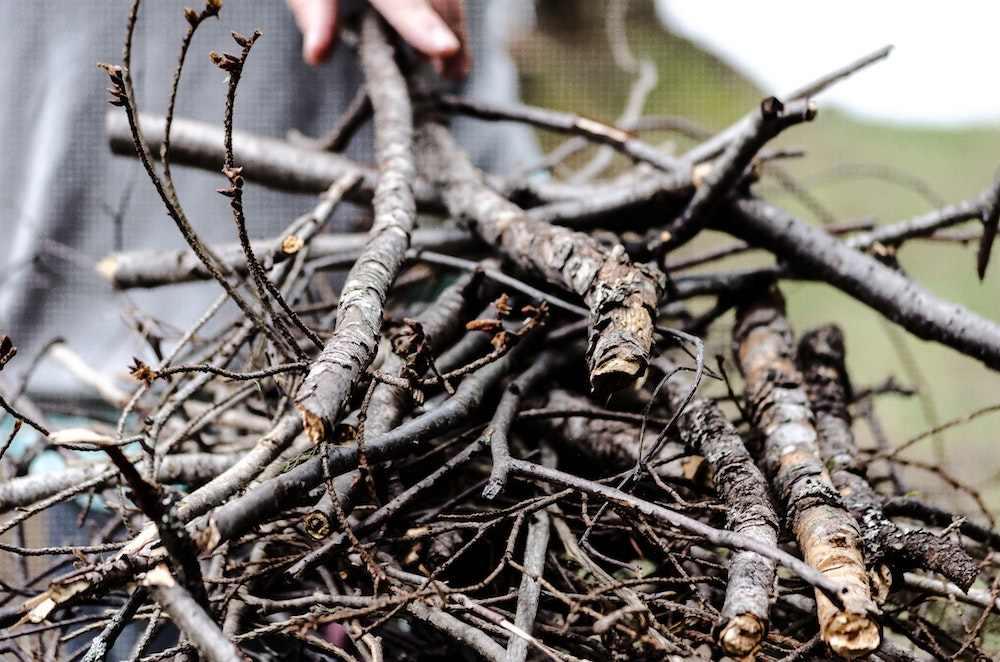 The twigs you collect will serve as kindling for your fire. (Source: Unsplash)[/caption]
The twigs you collect will serve as kindling for your fire.
Note that the type of wood you collect is important; don’t just pick up whatever you see. Some types of wood absorb water too easily during wet weather and are very difficult to set alight.
Some woods are better than others when it comes to making fire. Look out for woods in the class of:
The twigs you collect will serve as kindling for your fire. (Source: Unsplash)[/caption]
The twigs you collect will serve as kindling for your fire.
Note that the type of wood you collect is important; don’t just pick up whatever you see. Some types of wood absorb water too easily during wet weather and are very difficult to set alight.
Some woods are better than others when it comes to making fire. Look out for woods in the class of:
- oaks
- birch
- pines
- ash woods
- black locust
Pro Tip!
Small branches, dead twigs, and the pointy ends of fallen trees are very effective and you should take extra effort to find them.
Step 2: Make Dry Kindling
Now you need to make some dry kindling. In wet conditions, the driest parts of wood can be found inside it. To get to this dry wood, snap the small twigs you collected in Step 1 and use an ax or hatchet to split the larger logs. [caption id="attachment_139" align="aligncenter" width="1000"]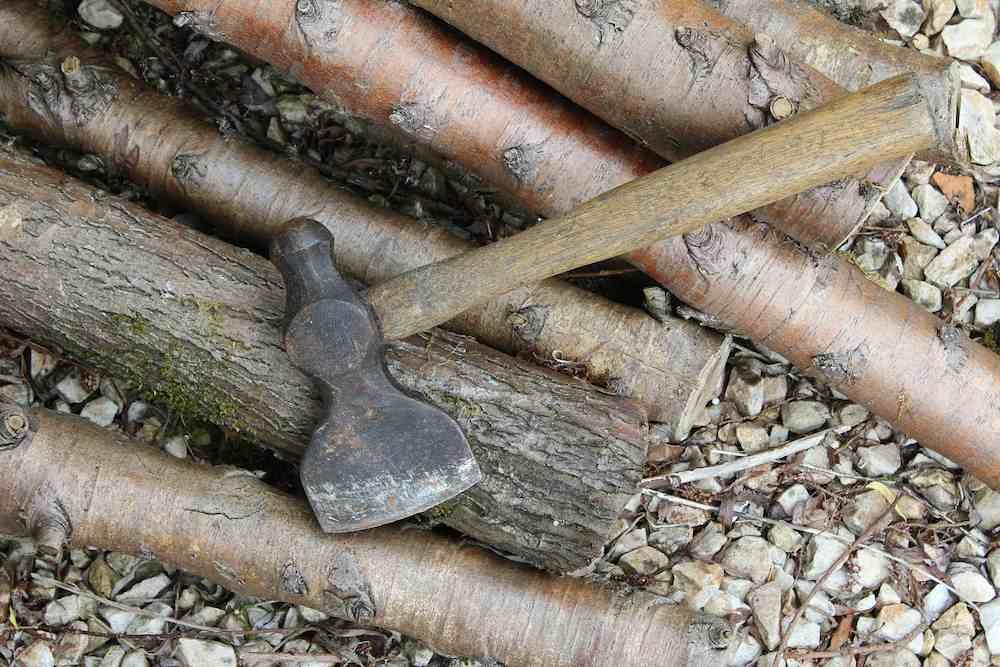 An ax or hatchet is a must-have if you want to make a big fire.
(Source: Pixabay)[/caption] An ax or hatchet is a must-have if you want to make a big fire. When you’re done, pile your snapped twigs and logs near the spot where you’ll be building your fire.
Pro Tip!
In wet weather, you’ll get the best results if you pick the driest spot of ground to build the fire on.
Step 3: Build a Teepee
Next, you need to build the platform for your fire. At the dry spot you chose in Step 2, begin by placing down some of the large logs you split. These will act as a buffer between your fire and the wet ground. Now, on top of the platform, use smaller branches to build a teepee shape. Make sure to leave space in the center; this space in your teepee will let air in so that your fire can kindle more easily. Where possible, make sure that you also leave tiny spaces between each large log at the bottom. This helps the logs to dry faster under the fire, as well as letting more air in so your fire can breathe. To complete your teepee, now fill the space in the center of it with some of the smaller twigs you split in Step 2. Don’t fill the center completely, though; remember that your fire will need space to breathe. Here is a visualization of how to build a teepee-shaped fire. [caption id="attachment_140" align="aligncenter" width="1000"]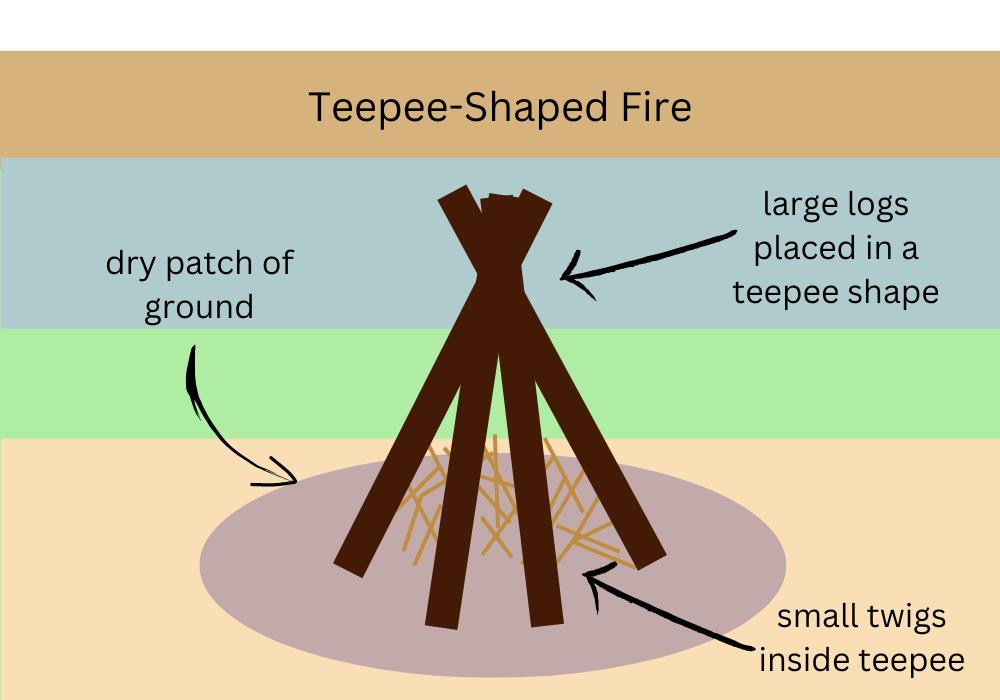 Here is a visualization of how to build a teepee-shaped fire.[/caption]
Pro Tip!
If your logs are too small to make a teepee shape, get some rocks and use them to make a teepee instead. The rocks will act as a buffer and maximize airflow.
Step 4: Light the Kindling
Now it’s time to light your fire. If you want, you can start by setting alight some paper, cloth, or other materials that ignite and burn easily—and then transfer the flame to your kindling. Paper catches fire very quickly and can help you get started. [caption id="attachment_141" align="aligncenter" width="1000"]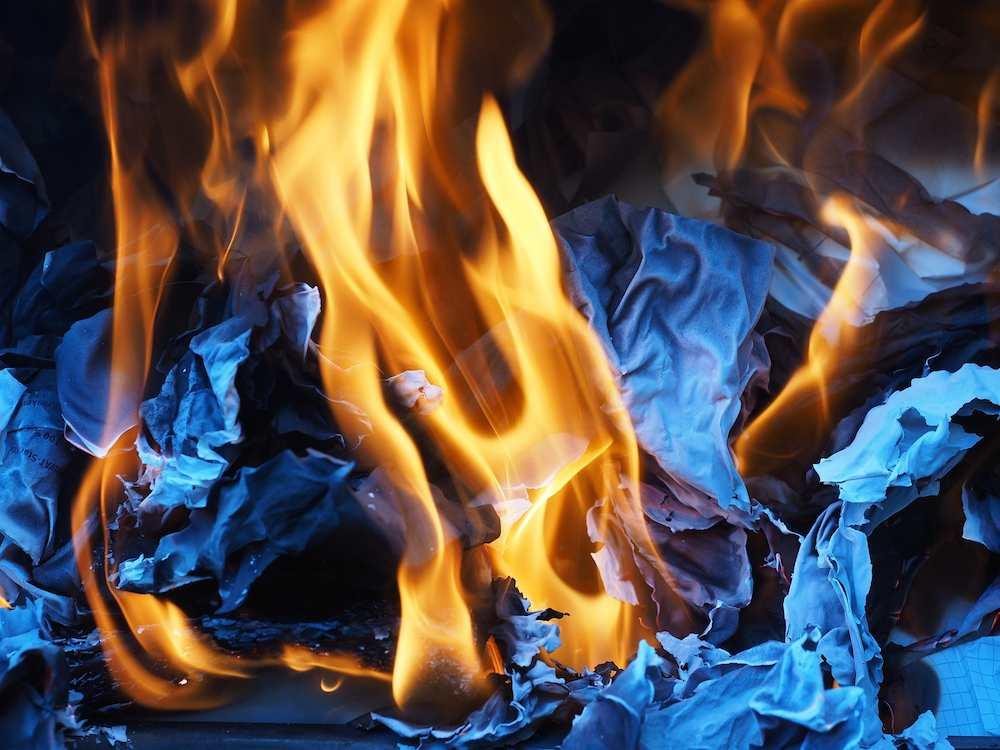 Paper catches fire very quickly and can help you get started.
(Source: Pixabay)[/caption] To begin, take a lighter or some matches and set your paper, cloth, dry kindling, or other material alight. Once your material is burning, place it in the middle of your teepee and blow on the flame gently. Next, put some kindling and small twigs on top of the flame. This helps in two ways: the small pieces of wood catch fire very quickly and they help to spread the fire to the larger logs in your teepee.
Pro Tip!
In addition to the kindling you made, you can use the following materials to help get your fire going: flavored corn chips, steel wool, dry spaghetti, and paper such as newspaper.
Step 5: Keep the Fire Going
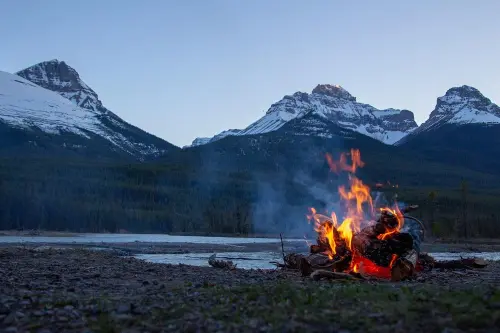
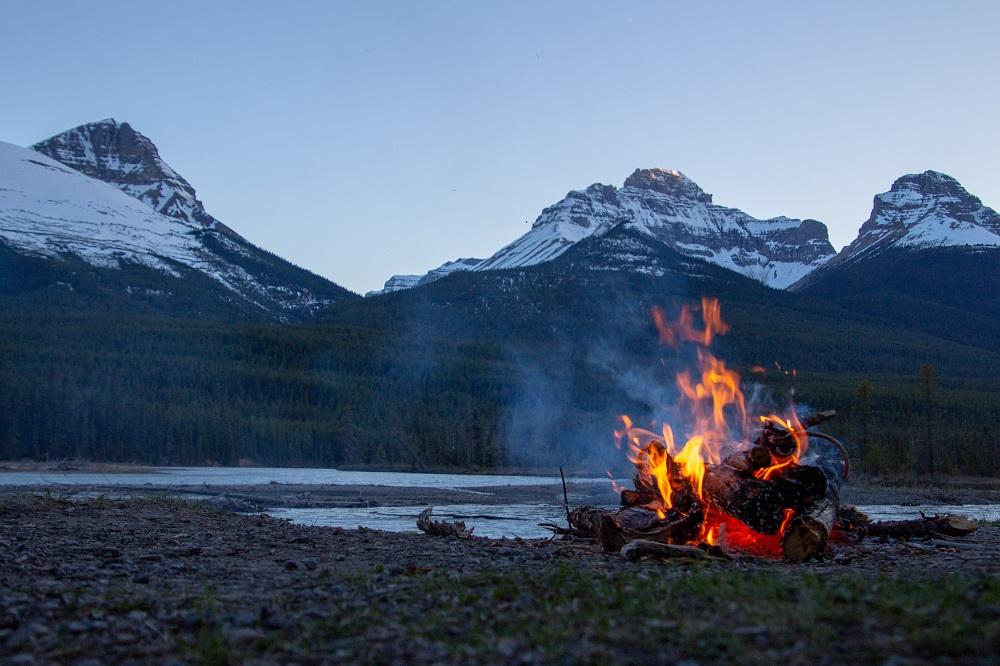
You’ve now managed to start a small fire; keeping it burning is the next step! To achieve this, carry on adding wood according to size: if your small twigs burn out, add more small twigs; if your large logs aren’t big enough, add more large logs. Eventually, your smaller twigs will have passed the flame over to the bigger logs—and at last, you’ll have your fire! Once the fire is burning steadily, you can lay some logs down nearby to use as backup later, if your fire starts to die down. This method will help you maintain a fire with wet wood. It is easy, not confusing, and won’t fail you. If you made a mistake in any of the stages, you can go back and try again. It's time to sit back and enjoy your fire! [caption id="attachment_142" align="alignnone" width="1000"]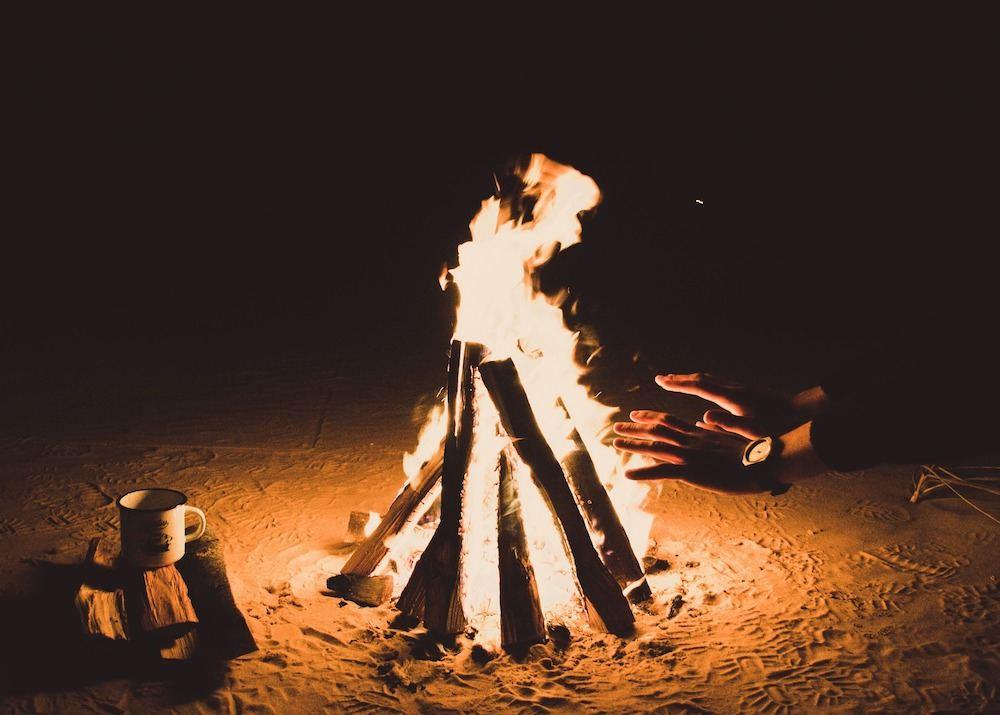 It's time to sit back and enjoy your fire! (Source: Pixabay)[/caption]
Step 6: Put Out the Fire
This final step is crucial. Once the battle is over and you’ve had fun with your fire, don’t bury it when you are done. It may burn innocent animals or injure other people—plus, your fire might start all over again if you just bury it. This can burn down an entire forest and cause great damage to an ecosystem. So, instead of burying your fire, you should put it out properly with a fire extinguisher (for example, a portable aerosol extinguisher). If you don’t have one of those, you can use water—just make sure to put out all of the fire. Separate the wood and scatter the teepee you set up. Then check each log and twig individually to make sure they show no signs of relighting. This is the safety step; follow it to enjoy the rest of your day with peace of mind. …So there you have it! That is how you make a good fire with wet wood, even in very gloomy weather. Stay safe and enjoy the experience. Featured image from PexelsArticolo Precedente
How to Sharpen a Machete
Articoli Correlati
Essential Knots for Tying a Tarp
06/06/2023

Learn How to Tie Up a Hammock with Paracord
23/05/2023

How to Stay Safe on Your Outdoor Adventures
04/05/2023